Pocket Notch Borders Die Set Video Tutorial
(Video captions)
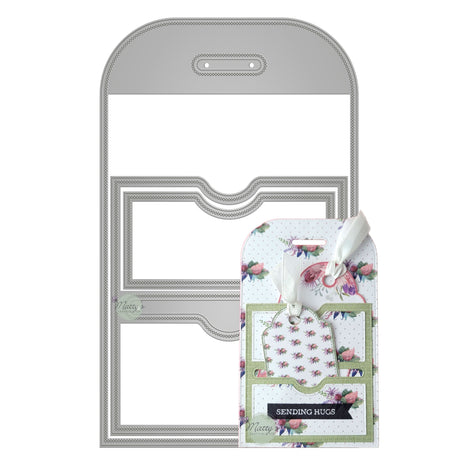
This video features the Pocket Notch Borders Die Set.
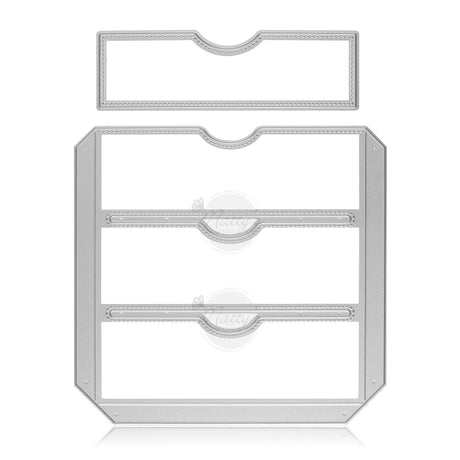
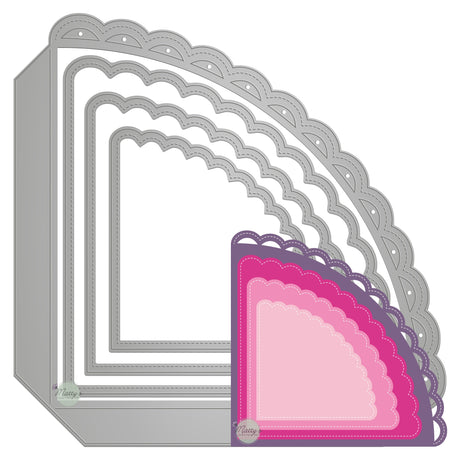
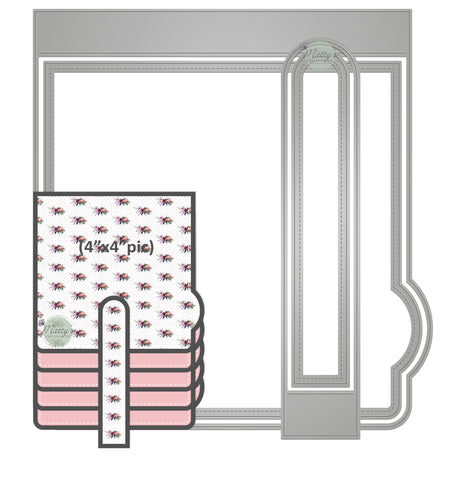
The set includes three pocket notch die designs with matching layering dies.(trapezoidal, oval, decorative)
Each border die is 6" long, with markings for 5.5" and 4.25" paper size, and each layering die has three matching markings (minus 1/4" for each size).
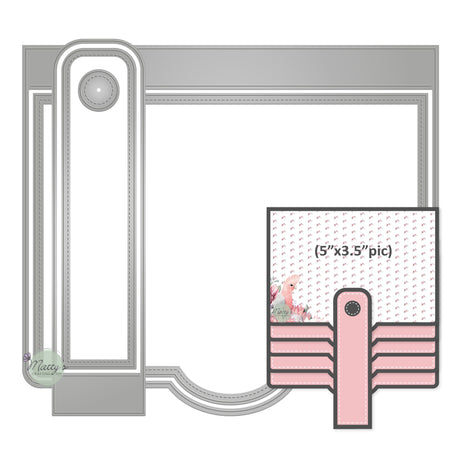
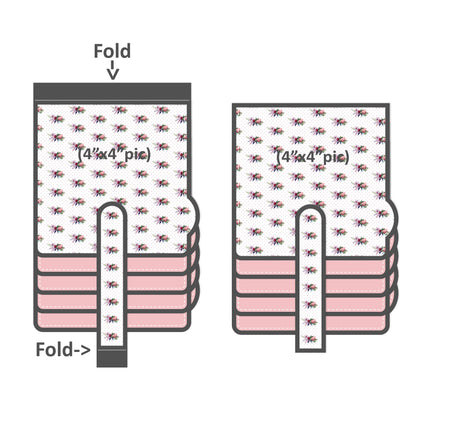
All the dies have double-stitched lines inside and outside the cut line, making them perfect for gatefold cards (using the negative space) as well.
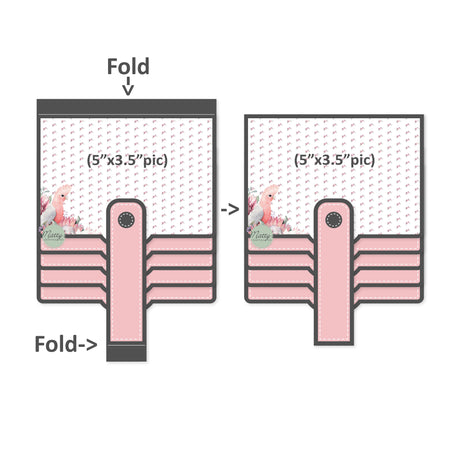
In this example, you can see a gatefold card closure made with the decorative border.
Don't worry, we have a step-by-step tutorial on how to use the set for gatefold cards.
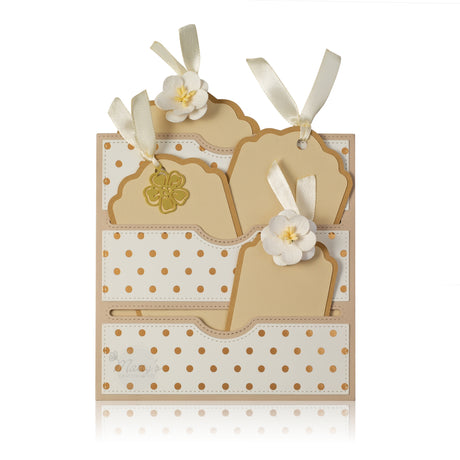
In this video, we demonstrate all three designs and made three pockets, one for each.
The pockets are 6" x 4", but you can choose any pocket size you like.
No matter your pocket size, the matting piece should be 1/4" smaller on each side.
Here we prepared 5 3/4" x 3 3/4" mattings.
Make sure to use the dies with two markings on the side - for the pockets, and the dies with three markings - for the mattings.
Align the top edges of the dies to the paper's edge using the markings as a guide.
Use tape to secure it in place and ensure that it doesn't move.
If the markings don't fit the paper size you chose, you can eyeball the placement, as we did in this example.
Die-cut all the pieces. You're almost done!
If you're making a folder with more than one pocket, all with the same design, you'll need to run the dies a few times through your cutting machine.
Apply glue to the matting layers and align them to your pockets.
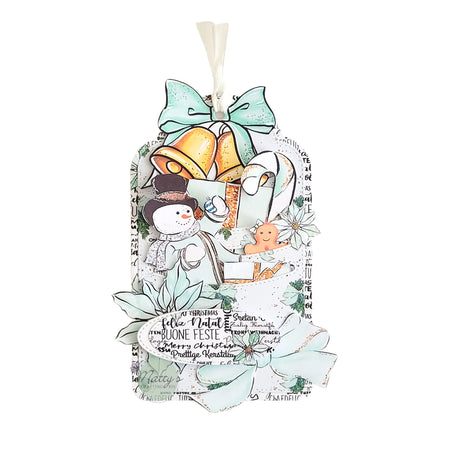
That's it! Your pocket is ready. Stamp it, embellish it, and place
it in your album.
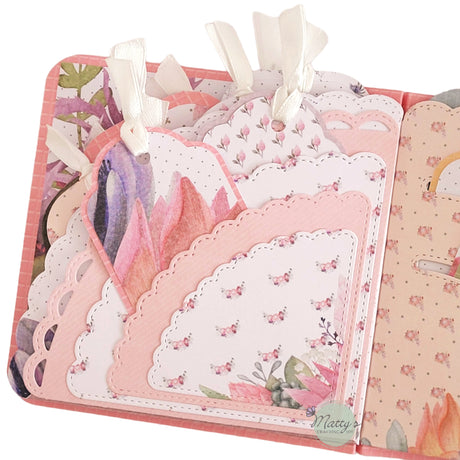
In this example, we made a folio folder/organizer with three
pockets on each side.
The pockets are spaced 1" apart to allow room for the notches.
Enjoy!
Best Sellers:
View all-

Rectangular Waterfall Flap Dies, Set of 5
$1497Unit price /Unavailable -
Stitched Slots Pocket Die, Set of 2
$1497Unit price /Unavailable -
$1497Unit price /Unavailable
-
$1497Unit price /Unavailable
-
Nesting Corner Pocket Dies, Set of 4
$1295Unit price /Unavailable -


Square Waterfall Flap Die, Set of 4
$1497Unit price /Unavailable