Decorative Square Waterfall Flap Die Set - Video Tutorial
(Video captions)
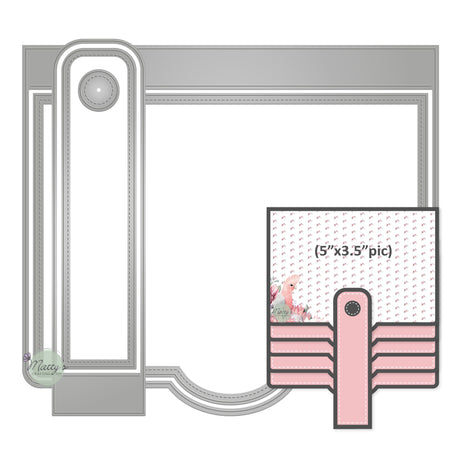
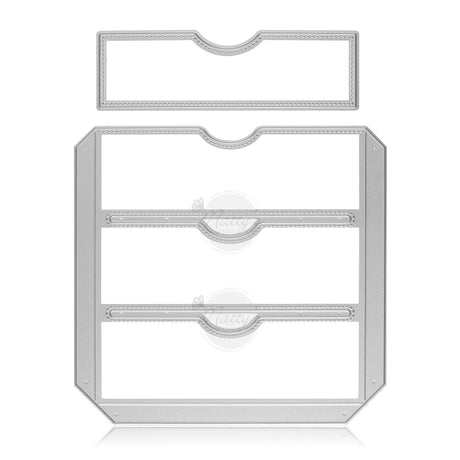
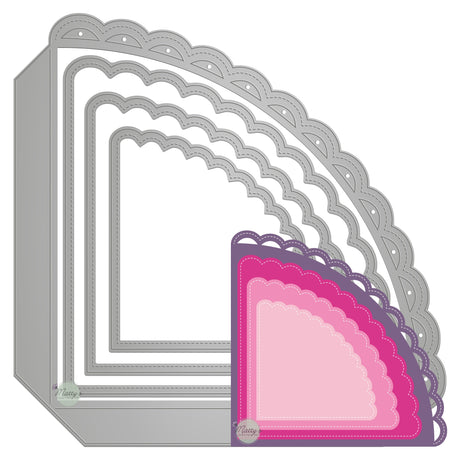
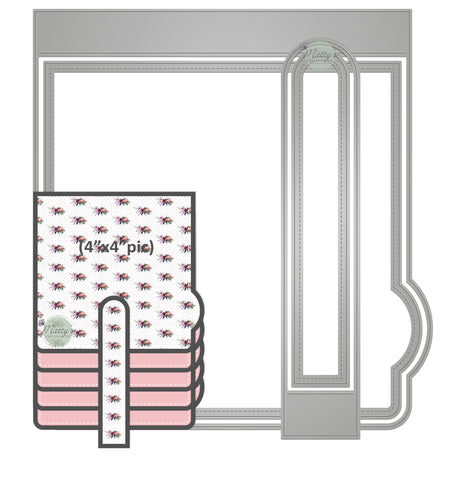
The set features four dies: a stitched scalloped waterfall flap with a spacing flap, a decorative matting layer that fits 4" x 4" photos perfectly, a closing strip with a folding flap, and a matting strip.
With this set, you'll create gorgeous 4.5" x 5" waterfall flaps for your albums.
Die-cut the set parts.
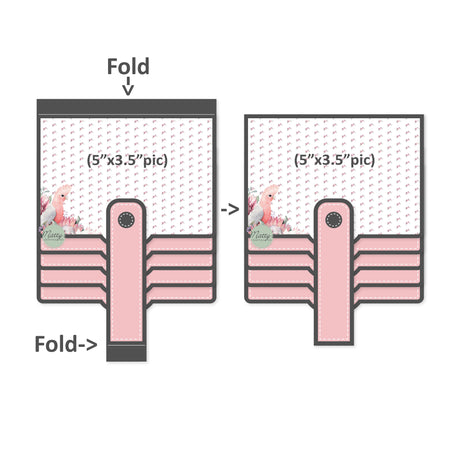
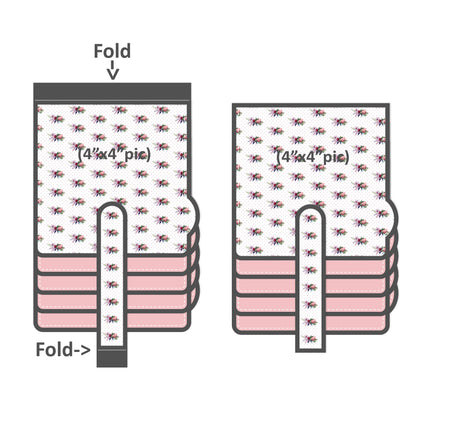
Fold the large flap along the embossed line.
Apply glue and align the matting layer to the center of the large flap.
Repeat these steps for the number of flaps you want for your waterfall.
Fold the closing strip along the embossed line, apply glue to the matting layer, and align it to the center of the strip.
The matting layers are a good place to hide magnets for the waterfall closure.
Remember to layer the top flap last, so that you can position your magnets correctly.
Apply glue and position the closing strip in place.
When you build your waterfall, take the bottom waterfall flap, cut out its folded flap (not needed), apply glue, and place it flat to your album.
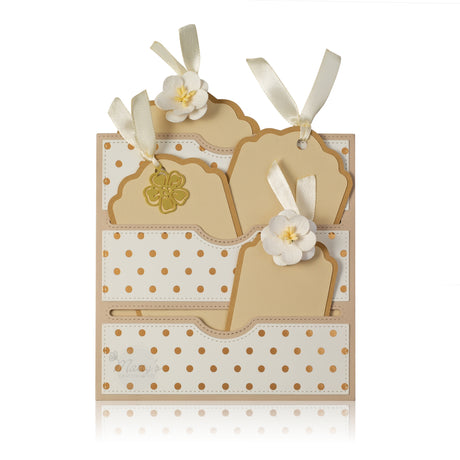
From here, continue by positioning the waterfall flaps one above the other, using their folded flaps to make space between them.
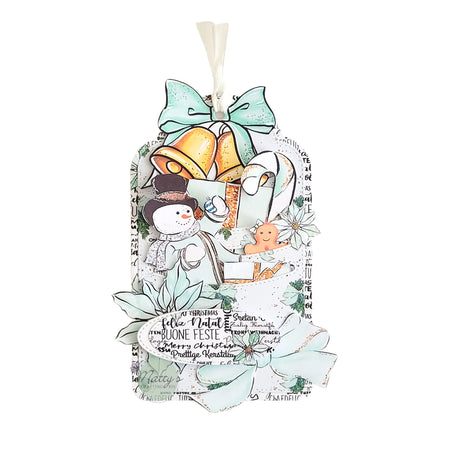
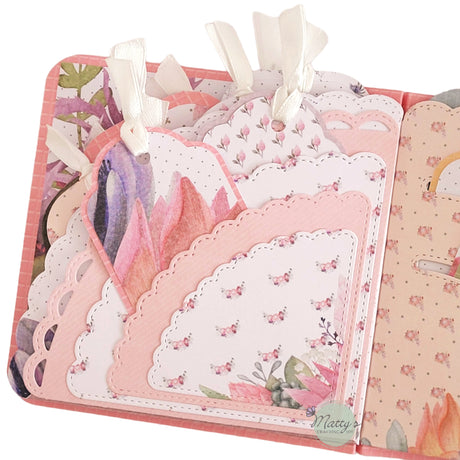
In this Christmas folio, we built a four-flap waterfall. (Our Lattice Journal Pocket is shown on the left)
We placed the closing strip flap under the folio matting (but you can also place it under the bottom flap), and we hid magnets (one between the strip layers and one between the top waterfall flap layers).
Making sure the final waterfall is placed in the center of the page can be confusing, so here is a formula to help you with the math, regardless of the page size. Don't worry, it just looks complicated, but it's quite simple.
One flap length (5") + [number of flaps minus one (4-1) x spacing flap height (1/2")] = 5 + [(4-1) x 1/2] = 6.5" waterfall height.
Subtract it from the folio height (8") and divide by 2 = (8"-6.5")/2 = 3/4". That's it! The first flap should be placed 3/4" from the edge of the folio.
For the side margins, measure or eyeball the center of the album.
Enjoy!

